
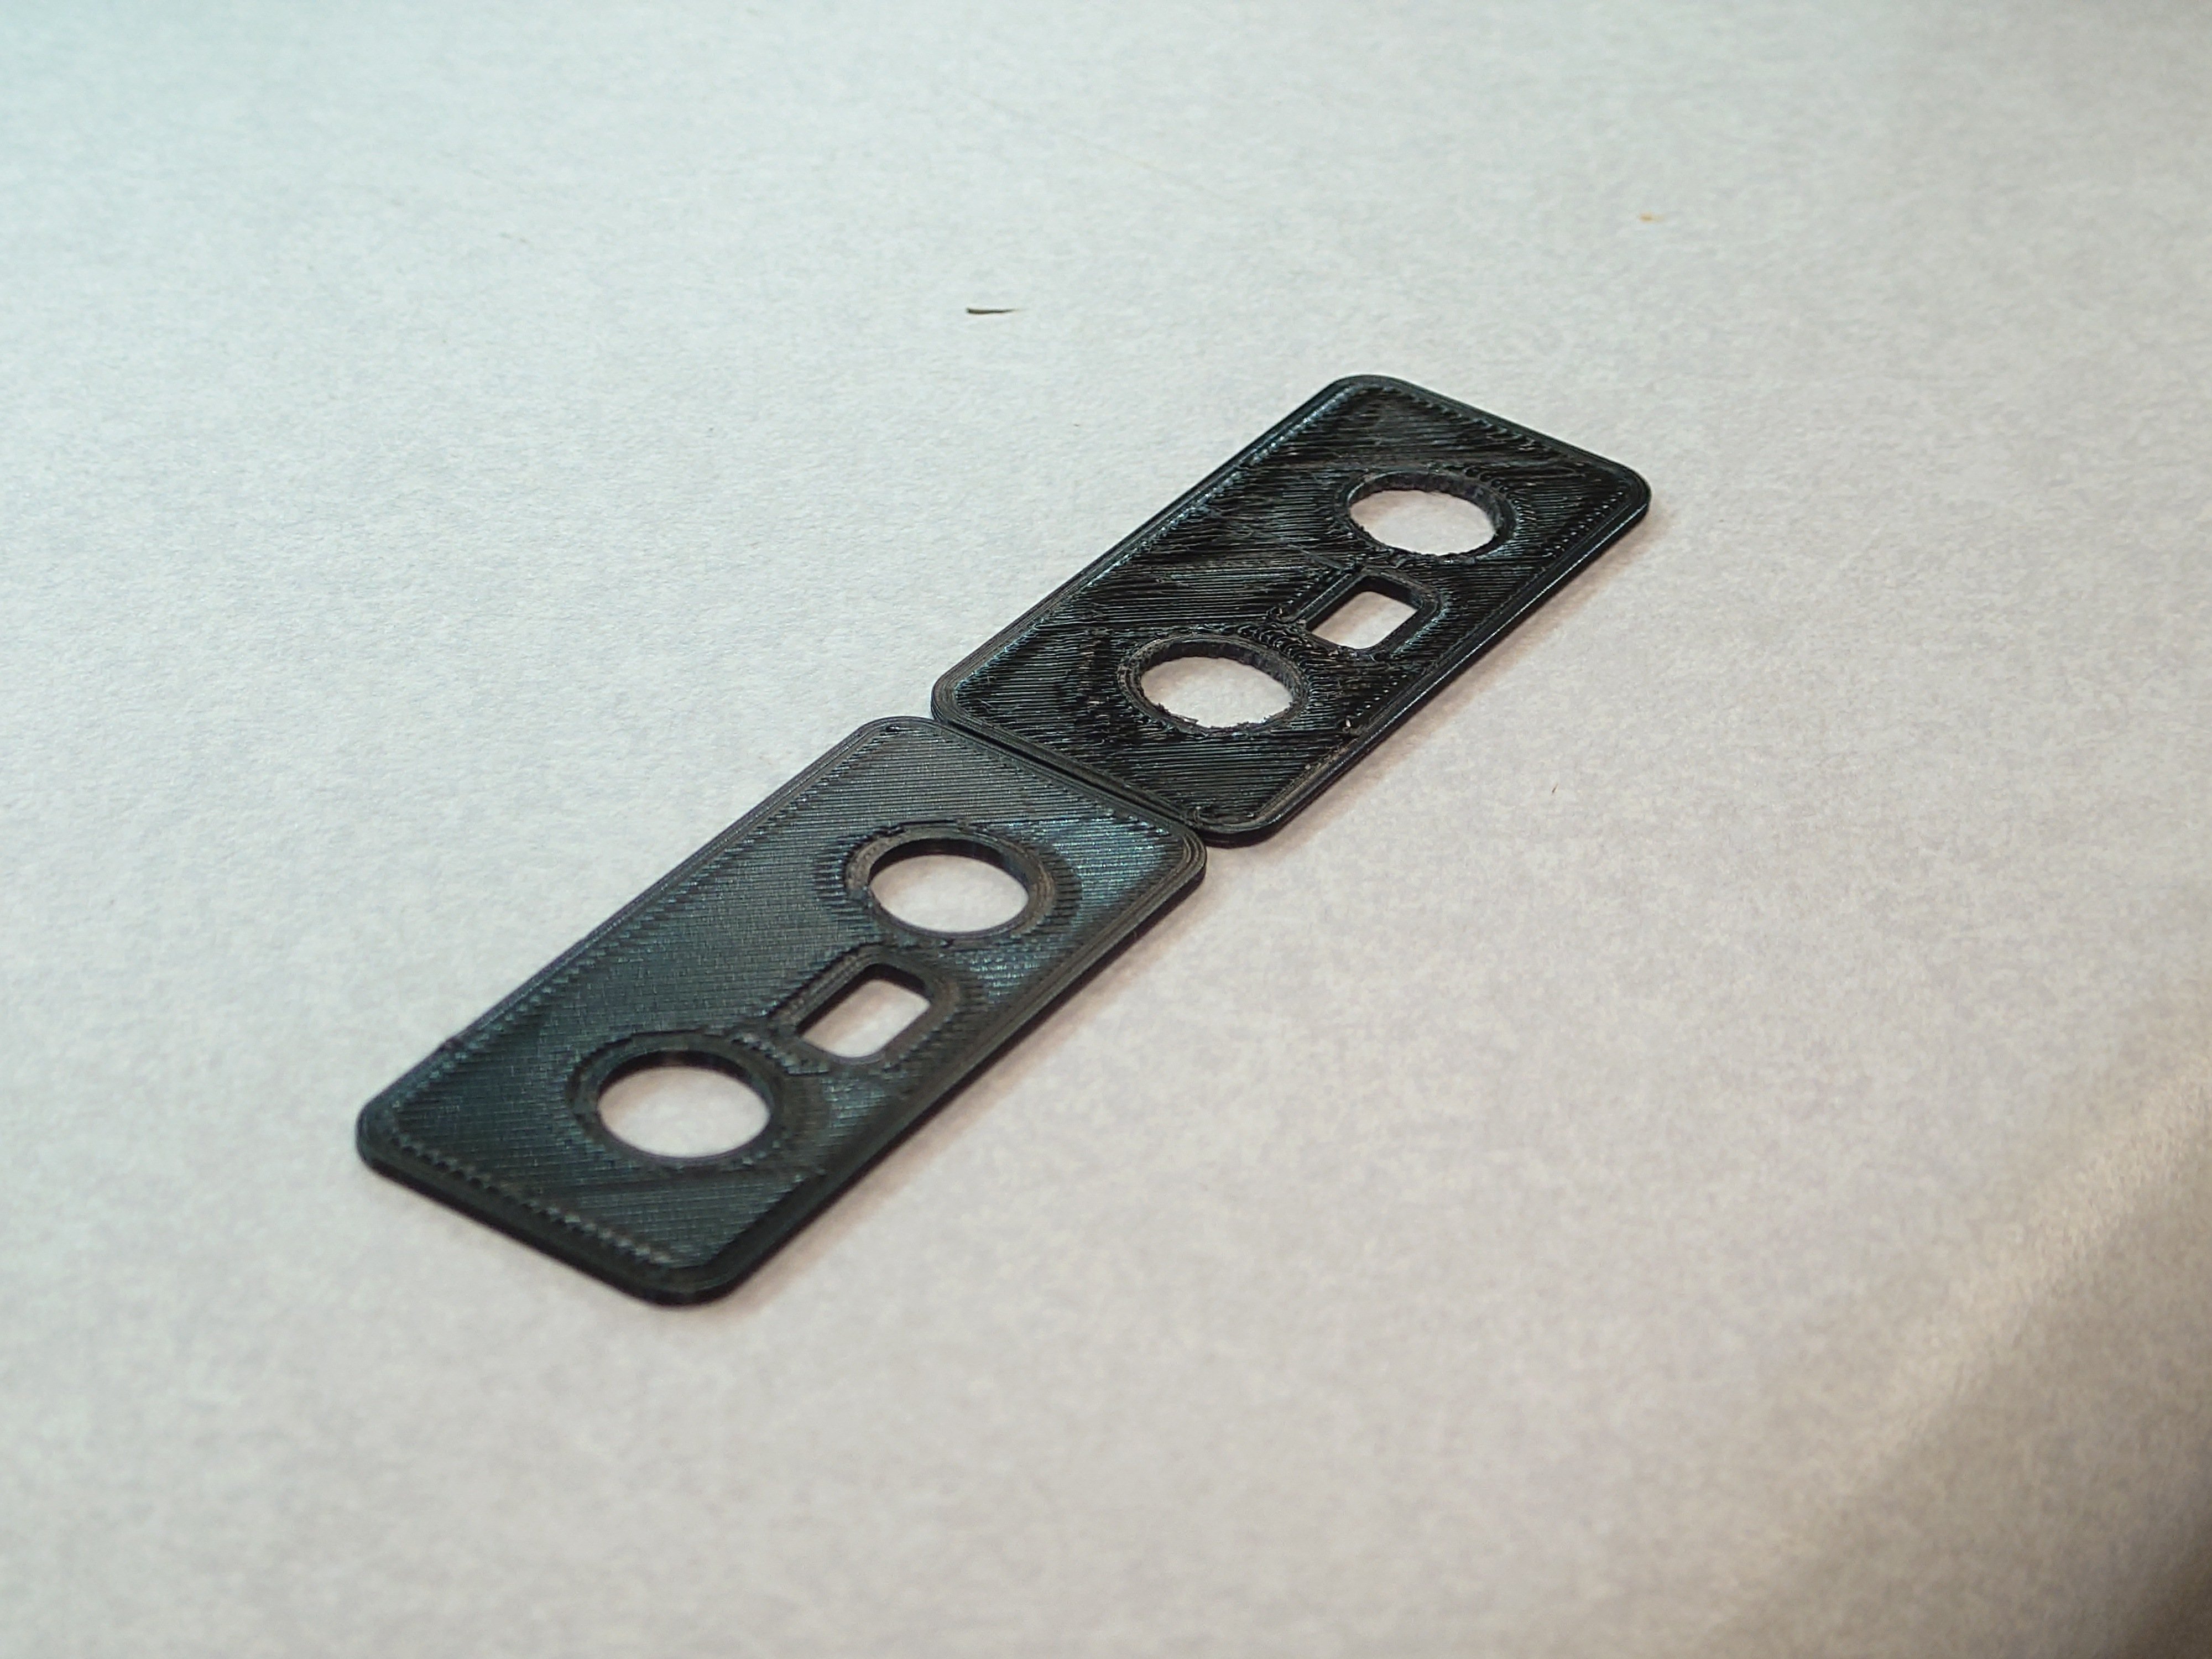
So I’m trying to get my printer to a point where i can pretty consistently turn out high quality prints, but I’m at a point now where i get results like this. These two prints are from the same batch, same print job, and I’m completely clueless on how to fix it. I have an ender 3 v2 with a bltouch, I’ve adjusted the eccentric nuts, tightened the belts until the tips of my thumb and index finger couldn’t tighten them any further, bed is level, using hatchbox pla. I know i can do ironing to fix the cosmetic problem, but I’d prefer to fix the root issue if possible.
I have a glass bed and I’m using the tramming function with the mriscoc firmware to give me depth readings for each of the four screws, and I usually reign them in to about 0.04mm range. Parts close to each other tend to have similar but not the same results, and i think the patches are too small to be from bed leveling, usually only a couple centimeters.
I can redo esteps, i can see what you mean about the overextrusion. I only set my esteps to the number recommended by the manufacturer of my extruder, but i haven’t measured it myself yet, maybe that’s a bit silly of me. Though if that’s the problem then I’m still curious why it’s different in different areas.
I can check out acceleration too, i looked up what acceleration and jerk meant at one point but it didn’t make much sense to me at the time.
Yeah that’s a pretty tight range for the bed leveling, shouldn’t be causing any issues then. OK another possibility here… the failing prints, are they on the left side, right side, one specific corner, or does it tend to move around between prints?
E-steps varies per extruder, not per manufacturer. What they recommend will get you close but there will always be some variance. On my printer Creality recommended a setting of 93 but my measurements put me up around 98, so quite a difference. Are you still using a bowden tube style extruder or did you upgrade to a direct drive? And is your filament spool mounted on top of the printer (if so, what guides have you added for the filament path), or did you move it off to the side?
Erg sorry, jerk is probably what you’re looking for here. It’s been awhile since I did much printing so I keep confusing the terms.
The falling prints i think have issues in the same spots, there are relatively small patches around the print surface that don’t print very well, though they don’t seem to correspond to the bed leveling screws or anything. Now that i say that I’ll have to check that I’m using the mesh level correctly when i get home.
I’m still using a Bowden type extruder. The extruder itself is a generic aluminum one. My filament is run out of a sunlu dryer by the side of the machine.
I think i actually raised the jerk at one point to reduce the radius on corners, so i can bring that back down again and experiment with acceleration.
Hmm I’m out of ideas then, sorry. Still wouldn’t hurt to do a single-layer test print (there are various models that put squares all around the bed) just to see how that’s looking. If the issue had been confined to one side or one corner it might have been a mechanical issue, but random areas makes it a lot harder to figure out.
If I remember right, jerk settings should be rather small, like single-digits, but I think calibrating your e-steps will go a lot further for cleaning up the prints.
One other step (and of course I cannot remember what this is called) is related to calibrating the filament ‘pressure’ along each path. It takes a bit of work to set up but the goal is to create a profile so you get a perfectly consistent amount of filament extruded through the entire length of a path, which compensates for excess amounts at the beginning and end of each path, or too little extrusion through the middle. You might even have to compile your own firmware to enable it if there’s not an option in Marlin to turn it on from the software (I was compiling my own anyway for a DIY direct-drive extruder), but it really does make a difference and it’s a set-and-forget thing that you only really need to do once.