
2·
7 months agoIs this game any good for a casual player playing solo?
they/them/theirs
Is this game any good for a casual player playing solo?
I beat Vampire the Masquerade Bloodlines for the first time on Deck. KBM controls bound to the system really did it for me and since it was a low spec game it ran flawlessly. And the game’s reputation holds up (well written and engaging but janky lol)
I subscribed and I liked what I’m reading so far! I liked their Alan Wake article and how it celebrated the cheesy elements of Remedy’s work…listened to all the Alan Wake songs and Take Control on my train ride this morning :D
Benny from New Vegas
Still trying to get out of Gold in Street Fighter 6, wrapping up Pikmin 4 100%, and going through the MegaMan Zero Collection (I’m on Zero 2)
Maurice Moss, played by Richard Ayoade. Source: I’m autistic too
That’s exciting! I hope you’ll share your work!
I got an enclosure kit from here with a multiconsole PCB (brain for controller). I did research on what buttons and joystick I wanted and ordered them from focusattack and arcadeshock. I liked that I didn’t have to solder everything and they gave me a useful guide for how to set everything up. I linked a build manual in another comment.
But you don’t have to go that way! Depending on your patience and engineering skills you could make a controller out of nearly everything. You could get a cheap PCB from a working controller from a game system you like and a joystick and or some buttons and stick them in an Amazon box if you wanted!
Or, you could do what my buddy did and pick up a kool-aid covered broken street fighter 4 stick off the street, clean it out, and put a new board and joystick in it! It’s up to youuu
Mine can too! On emulators lol
I’ll check it out :D
Yeah the turnout is crazy! I caught a little, got to see MenaRD pick up some ez perfects lol.
Nice weapon you got there 🤤
Sick! Fortunately I didn’t have to solder at all for this build 😅
I’ve never played in an event like that but I’d really like to :D
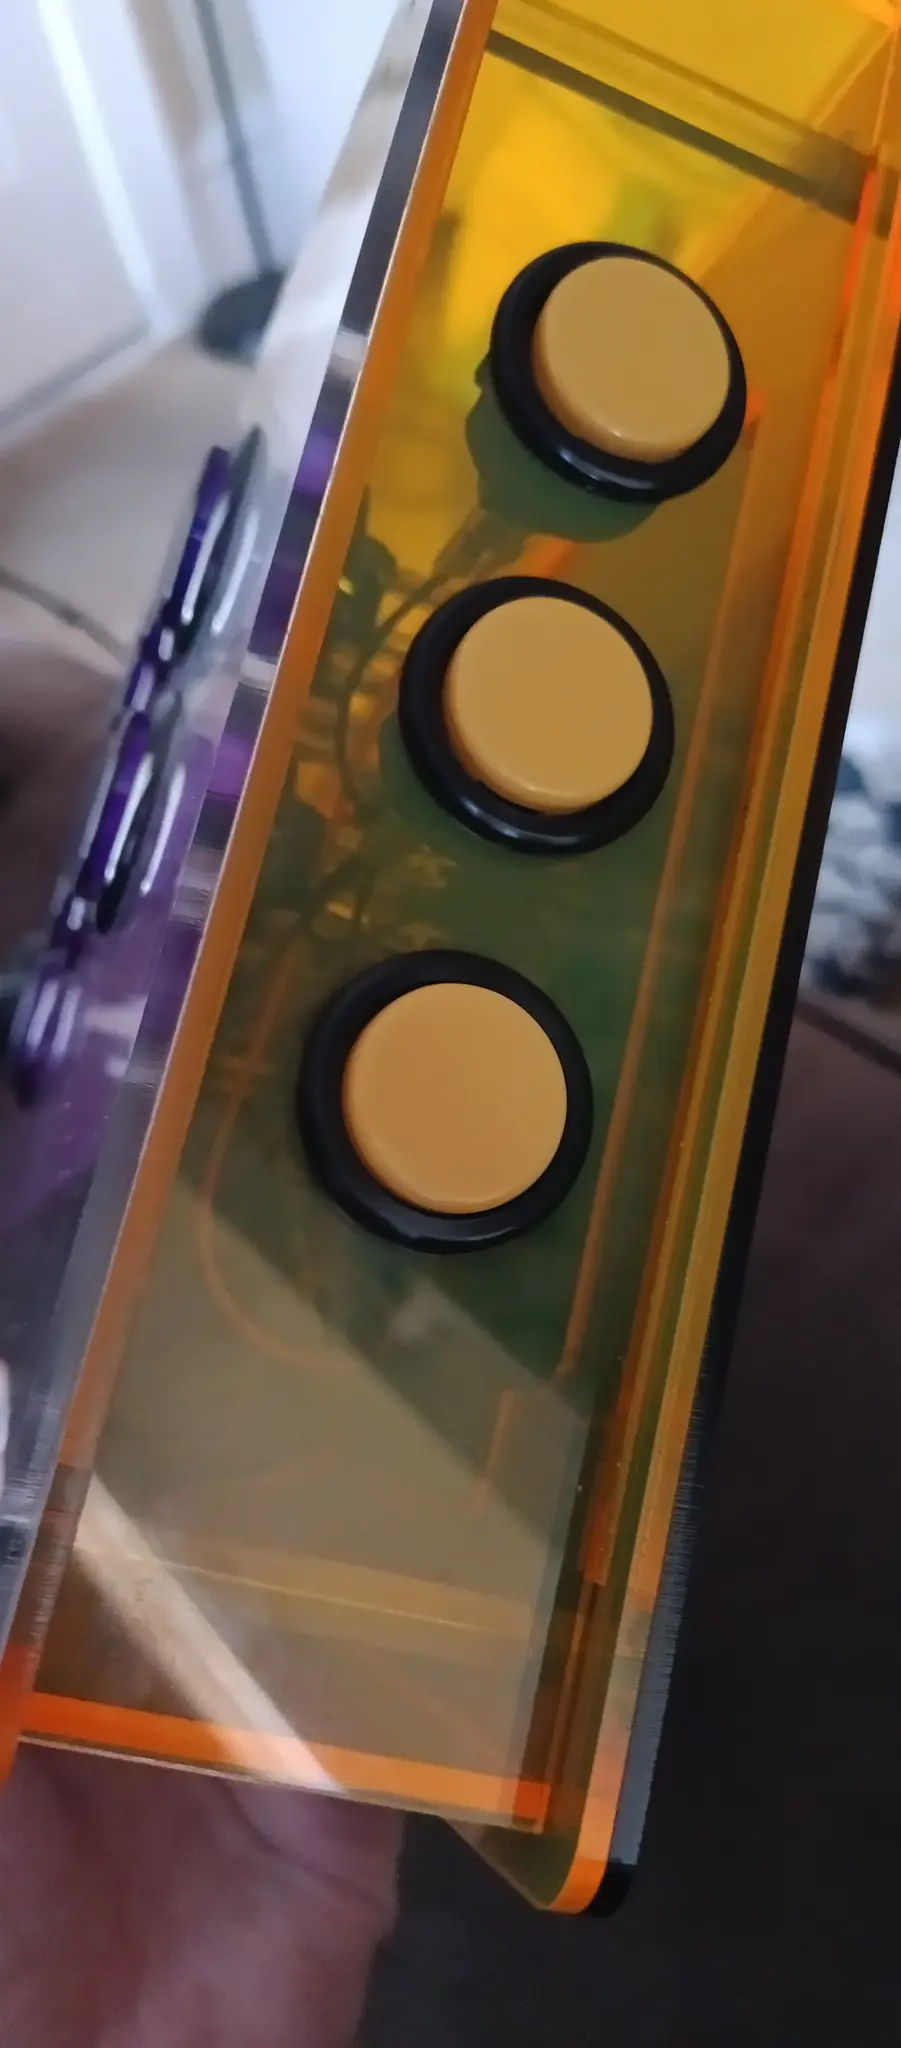
I like them a lot. Good action but not a lot of noise when I mash them, which was why I picked them (as well as for the look). Sanwa Denshi buttons are the gold standard, they’re installed in the classic MadCatz fightsticks and they’re pretty affordable. The Gravity buttons were about twice as much but they have got swappable switches for extra customization and I like the feel. I don’t think you can lose either way!
I don’t have videos yet, but I’ll post something soon!
It feels awesome. The action buttons have a great feel that’s between clicky and mushy and they don’t make a ton of noise when I mash them.
This was my first experience with a Korean lever. The stick actuator pushes on a silicone grommet which pushes the four directional switches. The result is it feels like the gate is a big circle while I still hear a click confirming when I press or release a direction. I find this makes special move inputs easier. The caveats are you need an adapter for the cables to work with a Japanese style stick, (which I bought with my joystick for an extra buck) and you need a 35mm hole for the “collar” and horizontal holes drilled in the mounting plate to accomodate. Fortunately Eternal Rival took care of all of that when I put my order for the kit together.
Here’s the build manual from Eternal Rival which should explain how it all goes together
Baby Park in A instead of SS
Well there goes your credibility

Castlevania: The Dracula X Chronicles, which is a nice 3D remake of one of the better classic vanias, Rondo of Blood. An updated version of Symphony of the Night is an unlockable in the game (as well as the original Rondo) so this is a great way to experience both games if you haven’t already.